
Plants make an indoor atmosphere more cheerful and vibrant. Fortunately, you don’t need a lot of space or even sunlight to create a thriving garden in your home — as long as you pick plants that will flourish in whatever environment you have.
After you’ve researched plant types and determined what species might do well with the available sunlight and space, there are a few basic things to know in order to ensure that your plants thrive.
Here are all the basics for growing greenery in your home.
1. Know how much sun and water each plant needs
Research plants based on your environment (ex: plants that live in low light, plants that live in direct sunlight) and level of expected time commitment (ex: low-maintenance plants).
Take stock of your space. How much sunlight enters the room, and for how long each day? Is it direct or indirect?
Be realistic about how much attention you’ll be able to give your plants. Will you remember to water every day or do you need something less demanding?
2. How to tell when your plant needs water
First, you need to find out how much water each species of plant needs. Some plants need to have dry soil before another watering, while others prefer to live in constantly moist soil. For most common houseplants, the topsoil should dry out before the next watering.
The best way to know when it’s time to water is to test the soil.
-
If your plant is large enough that you won’t disrupt the plant itself, dip your pointer finger about an inch into the soil or up to your first knuckle. If the soil is dry, then it’s time to water it. If any part of the soil is wet on your finger, leave it be.
-
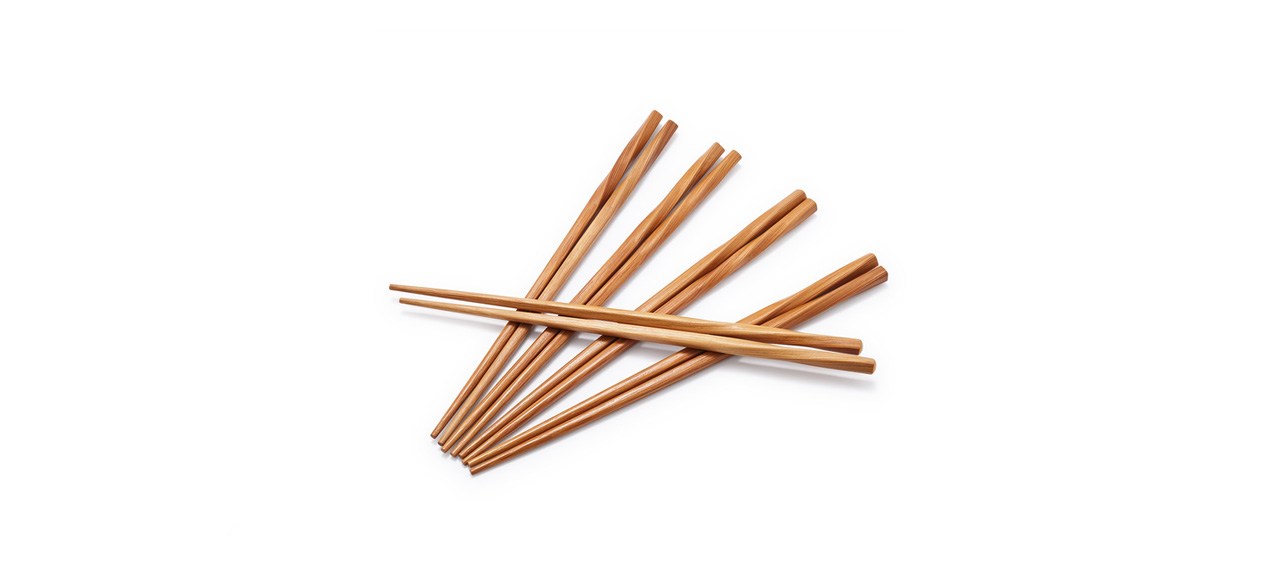
For smaller plants, you can use a wooden chopstick. Place it away from the plant in the soil about two inches down and leave it for about 10 minutes. When removed, if the wood comes out dry, it’s time to water. If it’s become stained or absorbed water, you need not water it for at least another day.
3. Know when a plant is getting too much water (or not enough)
When overwatered, most plants will begin to yellow in the leaves. However, the leaves can also yellow if they are not receiving enough sunlight, so you should take stock of the environment and your plant’s needs before you jump to any conclusions.
When a plant is not receiving enough water or is getting too much sunlight, the leaves will brown.
Water plants at the base or at the roots (versus pouring or spraying water on the leaves, which can damage them). But be careful of root rot, which occurs when plant roots sit in too much water for too long.
4. Pruning basics
Pruning is very important because your plant is sending all of its energy to every part of itself. If a leaf is dying (either turning yellow or brown), then the best thing for the plant is for you to remove it. This will direct the energy to healthy leaves or new growth.
A burnt leaf (crispy and brown) will never return to green. A yellowing leaf does not have to be removed, but if you don’t like the look of it, you can snip it off. Note that a yellowing leaf is a sign that something is wrong (either too much water or not enough sunlight).
5. Where to keep plants
There are four types of light that can be achieved indoors: direct, bright indirect, medium light and low light (shade).
-
Direct light is when the sun is in direct contact with your plant, like on a windowsill.
-
Bright indirect light bounces off something else first. It’s enough light on your plant to create a shadow.
-
Medium light can also be described as dappled light, or the light that filters through a thin window curtain.
-
Low light can be found in the darkest parts of the room, where sunlight never casts. Some plants can survive in low light, but they will not grow larger.
Tip: Be careful when placing sensitive plants in front of glass windows, as the sun shining through can burn the leaves similar to a magnifying glass creating fire.
6. Will artificial light do the same job as sunlight?

No. Lightbulbs do not carry enough UV light rays to sustain plant life. However, there are light bulbs designed for indoor plant growth called grow lights that can be used in spaces where sunlight isn’t possible.
7. How to know if your plant has outgrown its pot
If your plant outgrows its pot, you’ll need to move it to a larger one. This is called transplanting or repotting. You need to transplant if:
-
The soil is old and not retaining water. You’ll notice when watered, it drains out the bottom faster than usual.
-
The roots outgrow the pot. You’ll be able to see roots peeking through the drainage holes.
-
If your plant is getting adequate sunlight and fertilizer but not growing, it could need to be repotted.
8. How to transplant indoors
Although transplanting it can be dirty, it’s possible to do it in your home with minimal mess. Here’s how:
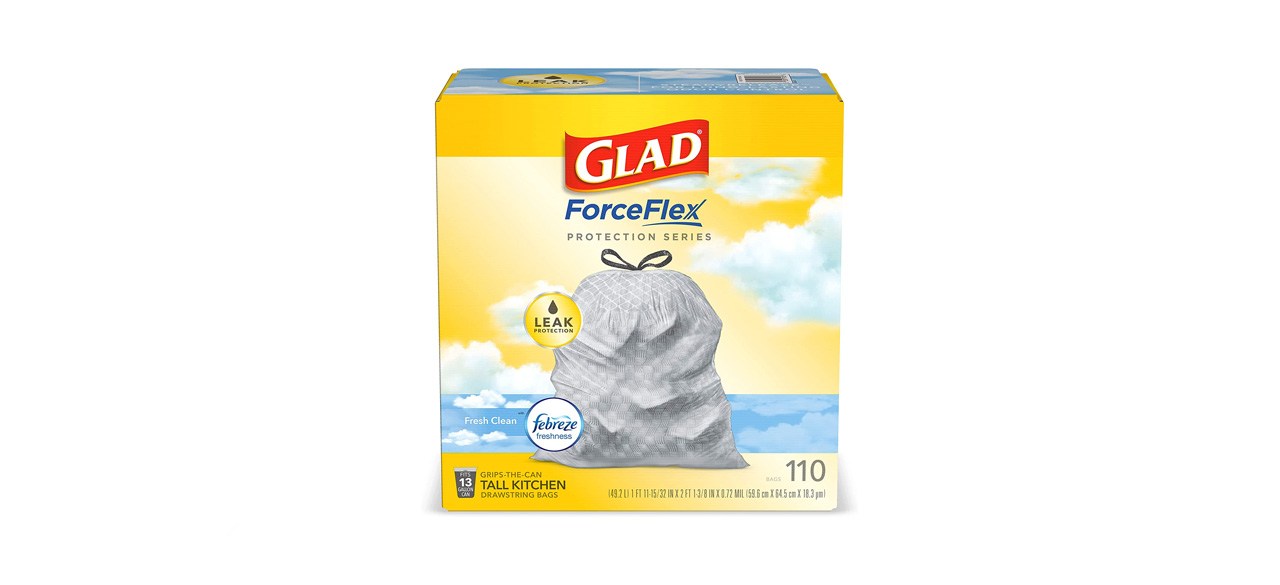
1. Lay down a trash bag large enough to catch the dirt from spilling onto your floor.
2. Fill the new pot a little more than one-third full with fresh soil. If your old pot is thin plastic, squeeze the sides to loosen up the soil.
3. Gently turn your plant over into your palm (over the top of the new pot so excess dirt falls in) and let gravity help slide the plant out of the pot.
4. Holding the plant over the new pot, gently use a few fingers to loosen up the soil around the roots, being careful not to break them — but remember that your plant is resilient so if you do break some, it is OK.
5. Settle the new plant within the half-filled new pot of dirt. Arrange the plant so it’s upright and the base of the plant’s stem is about a half-inch lower than the rim of the pot. Fill the empty spaces with more dirt and pack it in.
6. Once the plant feels stable within the soil, water it thoroughly, allowing the water to drain out through the bottom of the pot. Do this over a sink or bathtub.
9. What to do if your pot doesn’t drain water
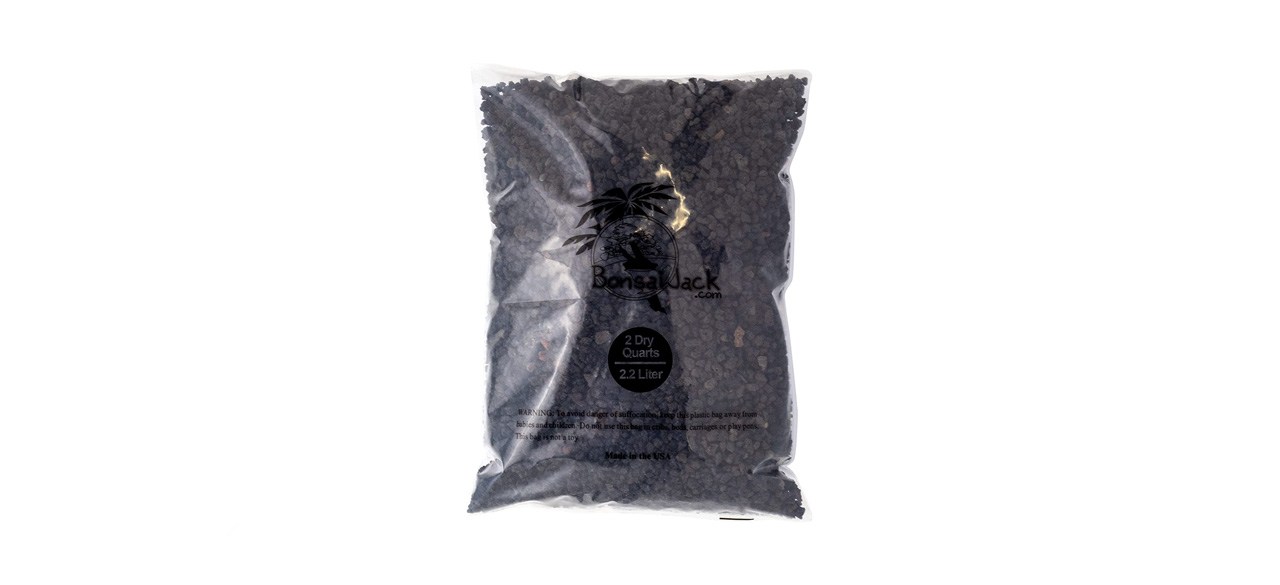
If your pot does not have drainage holes, line the base of the pot with rocks. Lava rocks work the best. This is to make sure that the roots of the plant do not sit in the water that drains to the bottom of the pot, because this can lead to root rot which will destroy your plant and the soil it sits in.
10. All about propagation
Many herbs, along with many houseplants, can be rooted in water. Common species are: pothos, spider plants, umbrella plants, Tradescantia, ZZ plants, snake plants, Philodendron, prayer plants and holiday cacti.
To propagate in water, you will need a cutting from an established plant. Cut the stem about one inch below a leaf. The location at which the leaf connects to the stem is a node; to properly root a cutting, you will want to cut about half an inch below the node on a diagonal slant. Place that end in water.
Refresh the water once a week for the best results. However, you can go weeks before changing the water, and plants will often root anyways. While the cutting is sitting in water, be careful to keep it in indirect light and out of direct sun.
A common mistake is making multiple cuttings along a stem and placing them upside down into the water. Roots will only grow from the base end of the plant.
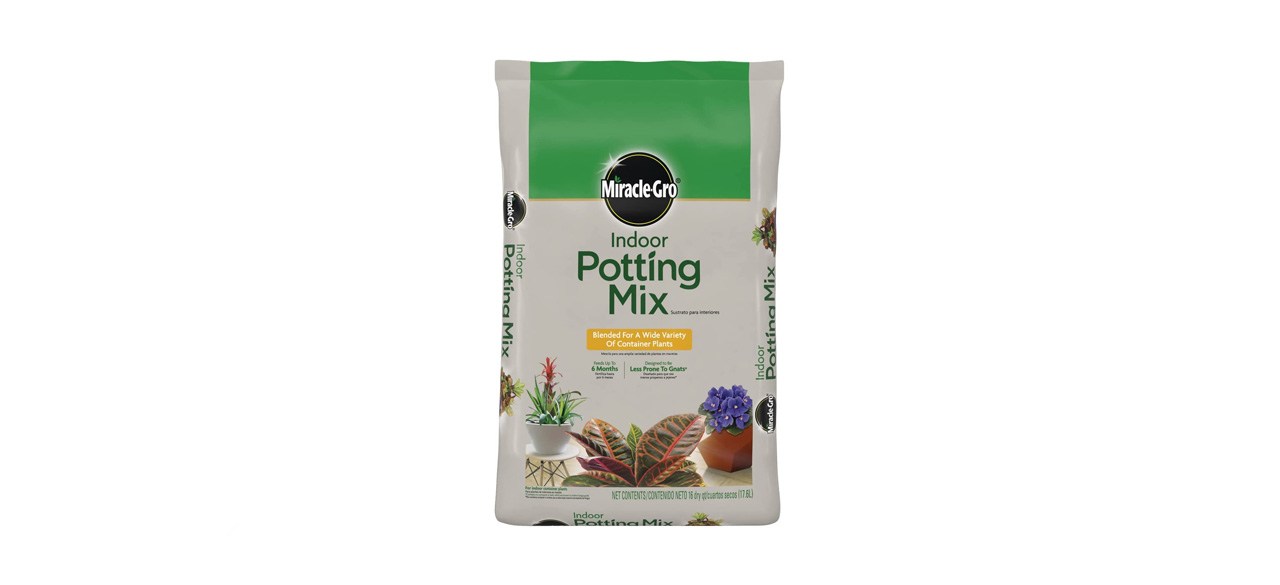
11. What type of soil do you want to use?
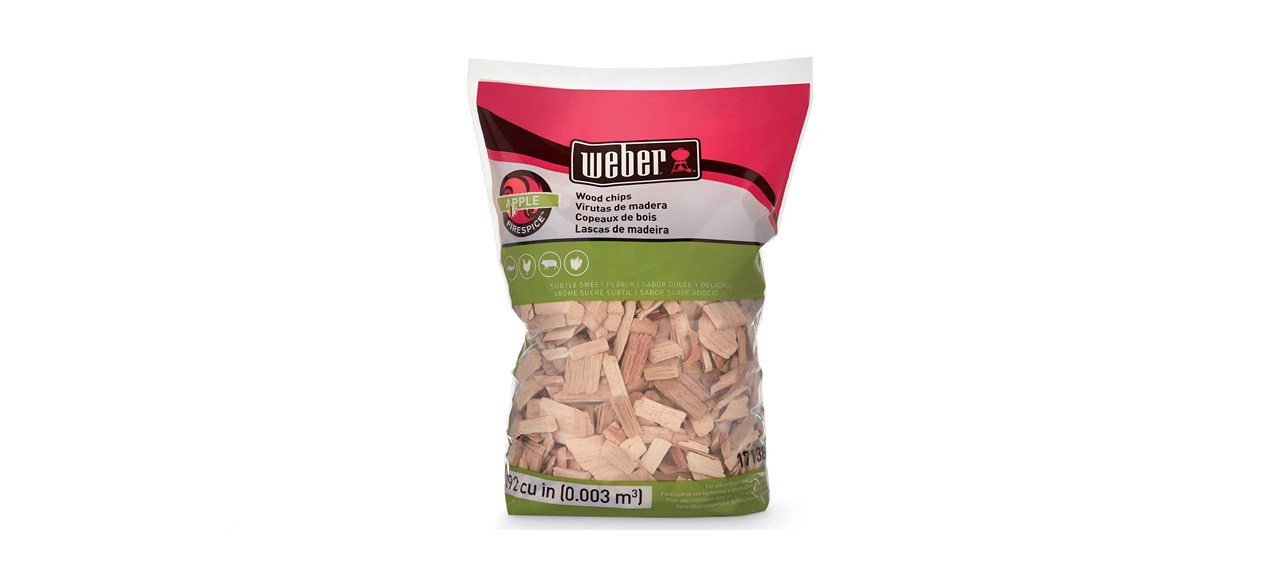
Most soils are named after what they are best used for. They might be labeled for indoor potting, vegetable/fruit soil, cactus soil, etc. If you have a plant that needs easy water drainage, mix in some sand to add air pockets allowing room for more oxygen and nutrients to be absorbed by the roots. If you need the soil to stay moist, you can add wood chips on top.
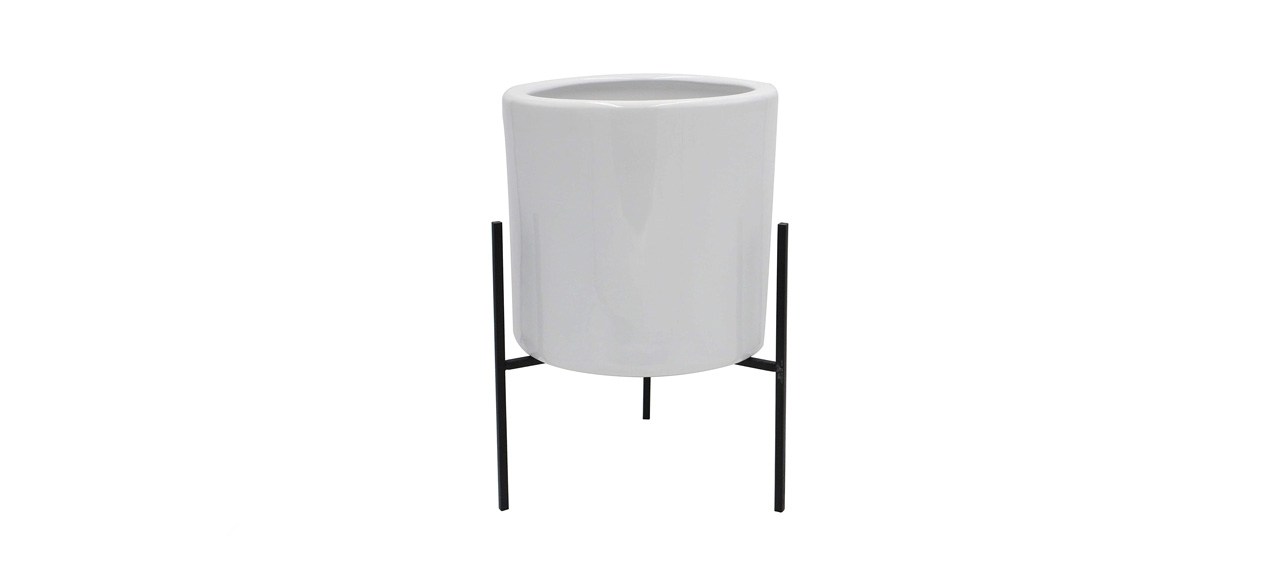
12. Ideas for DIY planters
A DIY planter can be made from pretty much any vessel, but those that can be punctured at the base for drainage holes are best. Milk cartons, juice containers, olive oil tins, and coffee tins are suitable for smaller plants, while seeds can sprout in empty egg cartons.
13. Do you need to clean leaves?
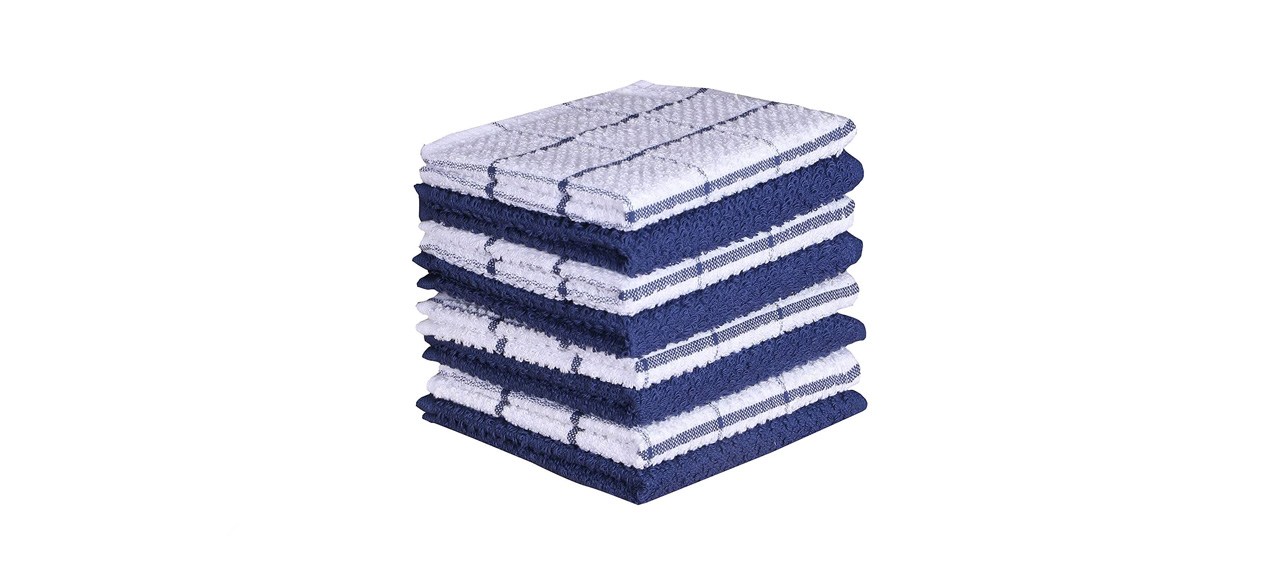
You do not have to. There are some products that can be used to make leaves shiny, but many plants are sensitive to these products. It’s better to use a wet terry cloth towel and gently clean the leaves.
14. Hard-to-kill plants for most homes
-
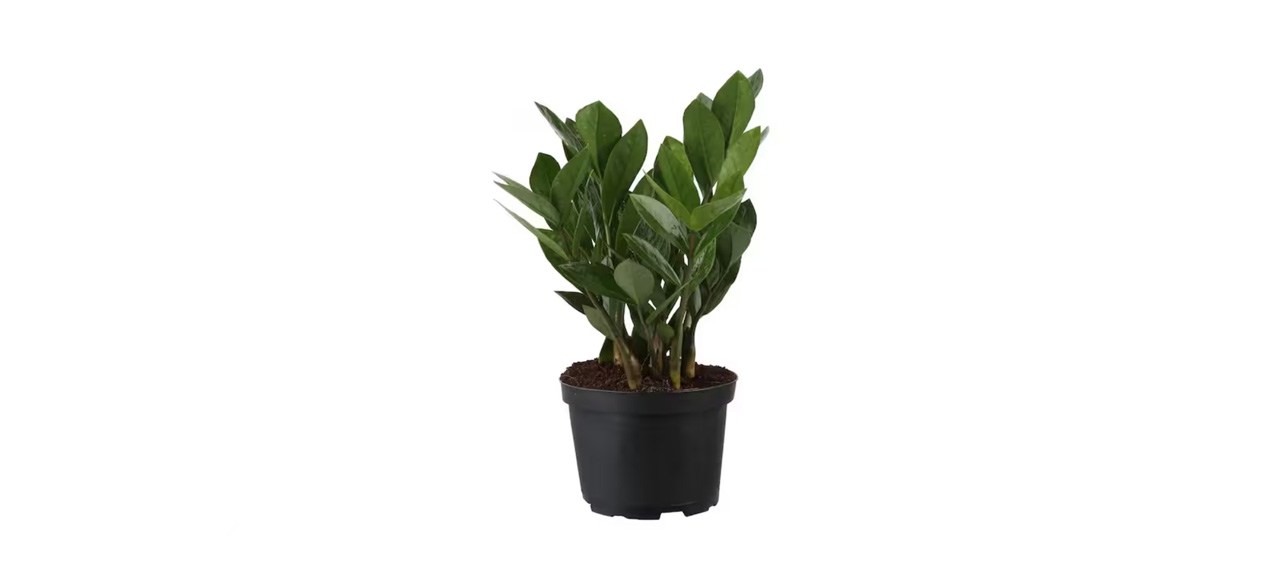
For city spaces with small or no windows: ZZ plants and snake plants both need medium/low light. Let the soil dry out between waterings and do not mist — just give the plants some sun time once a week or so.
-
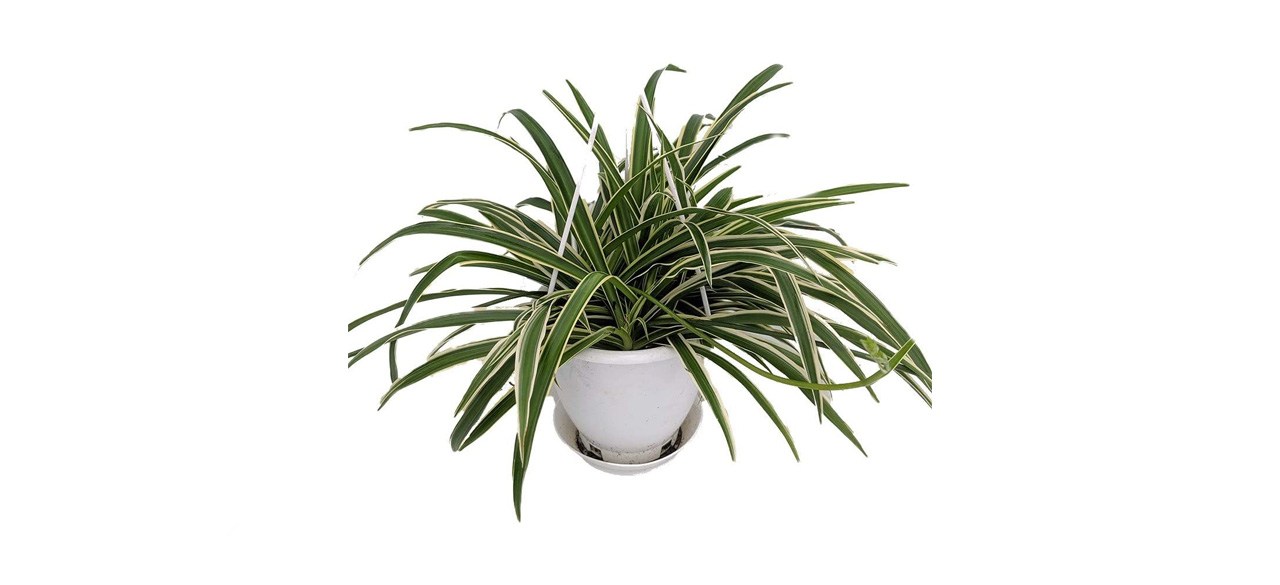
For rooms with larger, sunnier windows: Spider plants need indirect/direct sunlight. Like ZZ and snake plants, let the soil dry out between waterings.
-
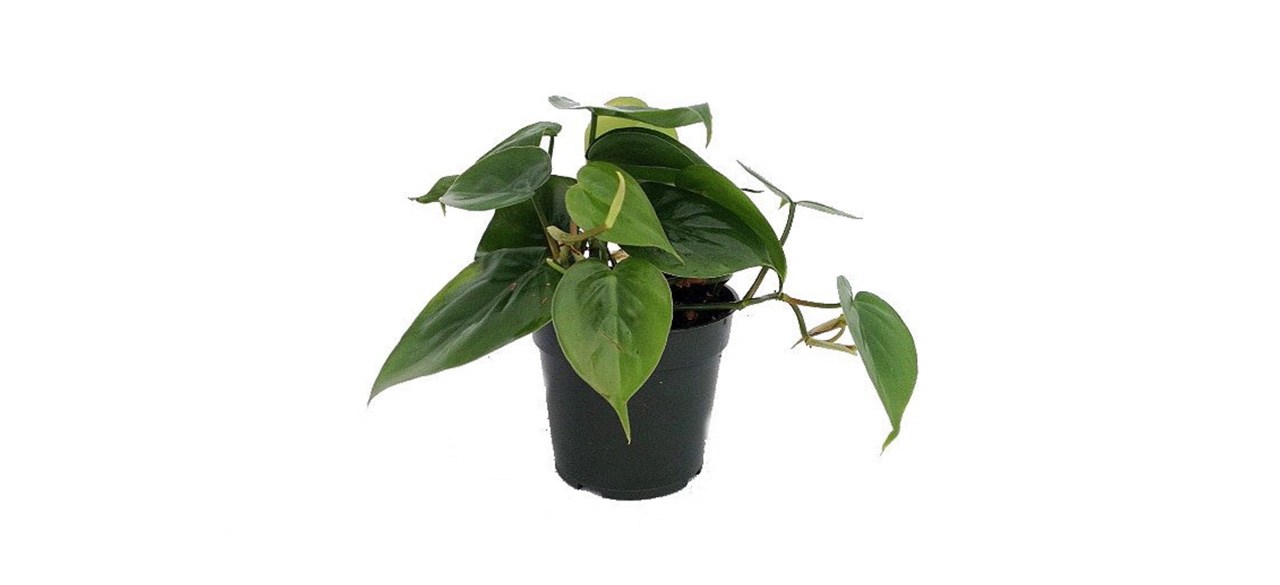
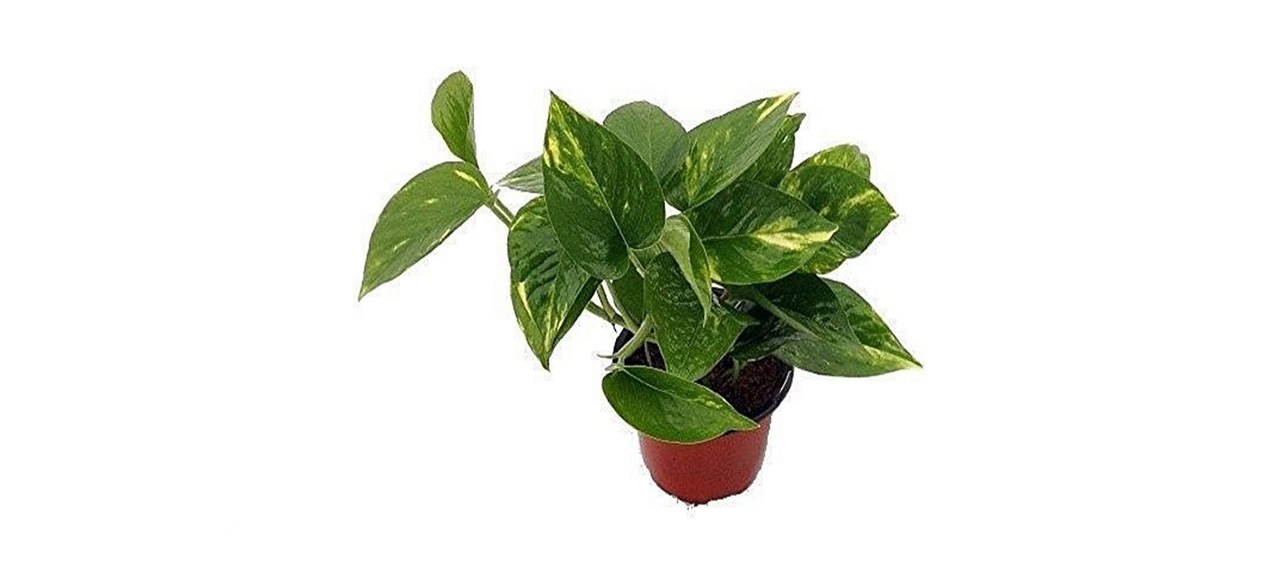
For first-time or busy plant owners: Pothos is fantastic for anyone new to indoor plants because it’s really obvious when they need water — their leaves will begin to droop and they will be really flimsy. They will live in any type of light, and you should let the soil dry out between waterings.
-
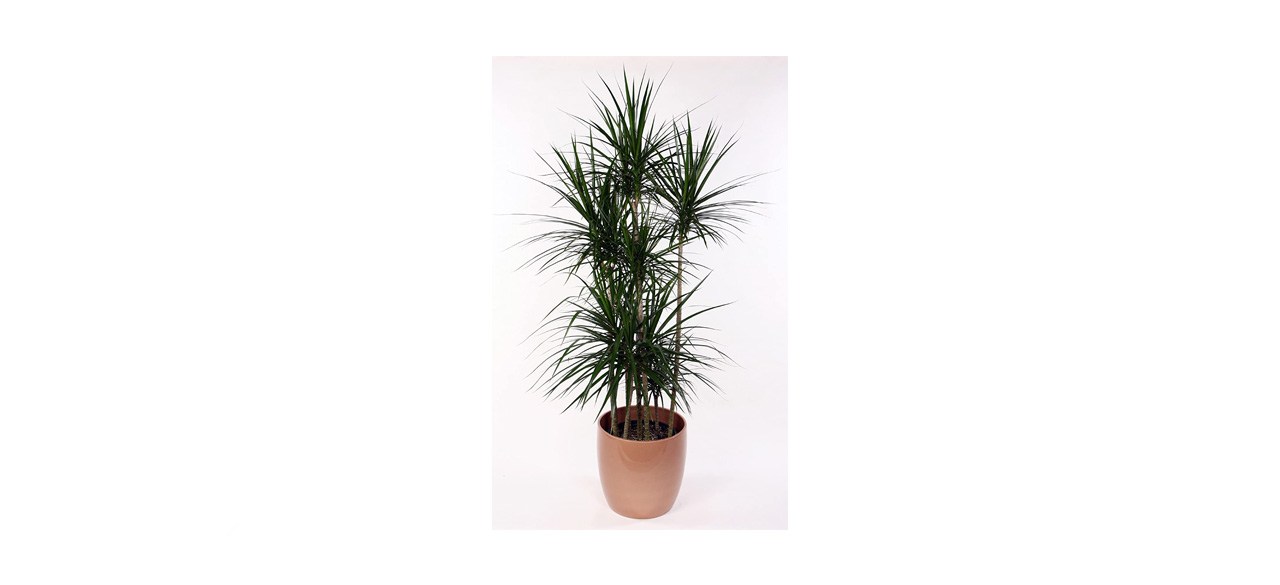
For slightly more confident plant parents: Dracaena needs a bit more attention than others in this list because its leaves like to be misted, but it’s still fairly low-maintenance as you can let the soil dry out between waterings and it needs medium/low light.
All the above prefer drier soil, so if you forget to water for a week, they won’t mind.
Want to shop the best products at the best prices? Check out Daily Deals from BestReviews.
Sign up here to receive the BestReviews weekly newsletter for useful advice on new products and noteworthy deals.
Cameron Pitts writes for BestReviews. BestReviews has helped millions of consumers simplify their purchasing decisions, saving them time and money.
Copyright 2023 BestReviews, a Nexstar company. All rights reserved.


